Step 1: After installing Android Remote Server, double click the Android Remote Server icon on your desktop.
Step 1: After installing Android Remote Server, double click the Android Remote Server icon on your desktop.
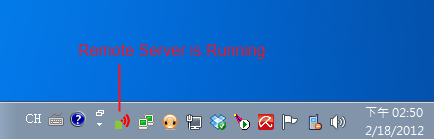
Step 2: You should see an icon at the system tray.
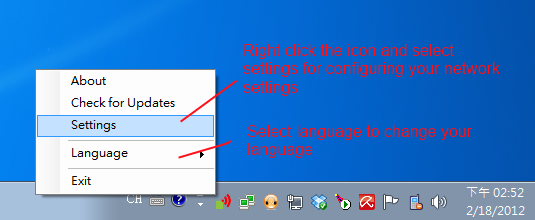
Step 3: Right click the icon to configure your network settings.
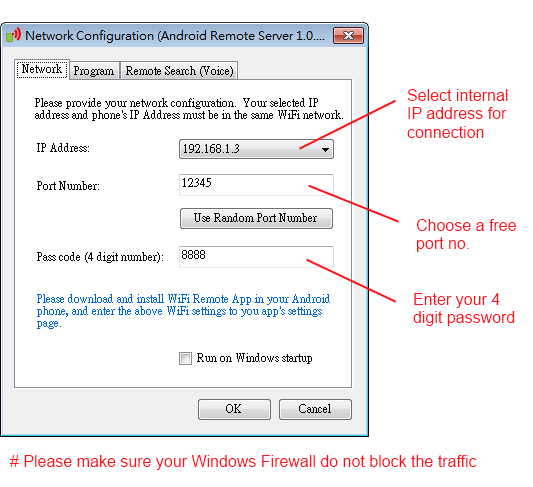
Step 4: Select Network tab, and then select your IP address, input a free port number, and type your password.
(If you have multiple addresses, please select a private one, your phone must be able to access this address)
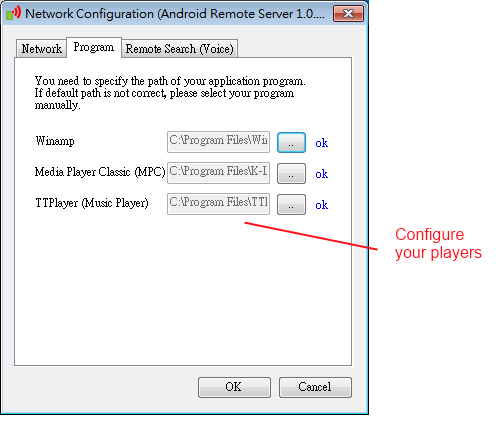
Step 5: Select Program tab, configure your players' path. The remote will not be able to call your player unless you setup the correct path.
Press OK to save the settings.
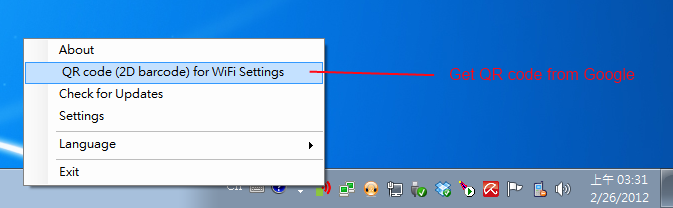
Step 6 / OPTIONAL: Starting from Server 1.0.3.14, you can get the QR code (2D barcode) from the server. You can scan it from your app's setting page. You don't need to type IP address, port number and password again into your phone.
You can skip PART B completely if you can access your camera.
Note: Please make sure your firewall does not block the traffic for the server.
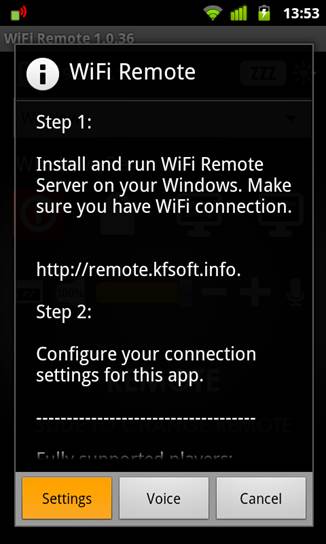
Step 1: If you run the app for the first time, you will see the welcome screen. Press Settings, and go to the input your network connection settings.
If you miss this screen, you can still access settings page by using the menu key.
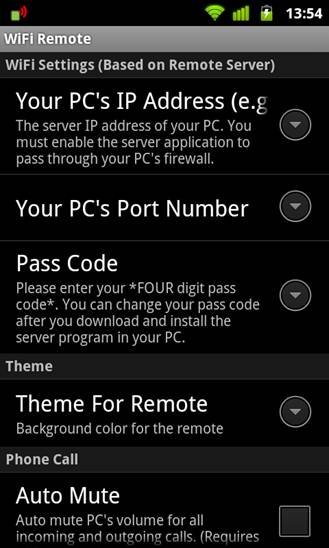
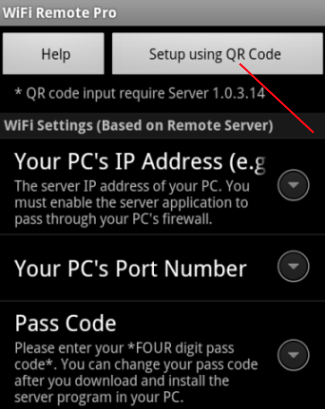
Step 2: Type your IP address, Port Number and 4 digits pass code under WiFi Settings.
Your input should the same as what we did in Remote Server Configuration. (PART A: Step 4)
Step 3: Check if the app is connected to the server. Connecting to server require several seconds, loading icon will be displayed.
Once it is connected, the loading icon will be disappeared. If you are not connected, an ERR icon in red will be displayed.
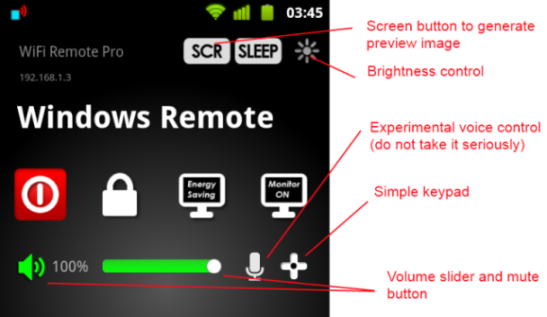
Step 4: If there is no error message, you can start testing your remote.
You can move the volume slider to control your PC's volume.
The change will be immediately reflected in your windows.
Back to remote.kfsoft.info